Performing Image Labelling in Flutter
In this article, I am going to show you how to perform image labelling in flutter by applying the use of various packages from the flutter ecosystem.
Introduction
Hey everyone, I am Hasnain Makada, a member of the Elite Collective at Showwcase and building out Open Source with Hasnain with a strong aim to make open source contributions easy and make good tech resources available for everyone.
Today this blog will be about implementing machine learning algorithms inside your Flutter apps and how you can implement barcode scanning, QR detections, and many more. Specifically, we are just going to discuss image labeling today, but you can expect more concepts in my upcoming blogs on Flutter.
So without wasting any further time, let's get started

What is Image Labelling?
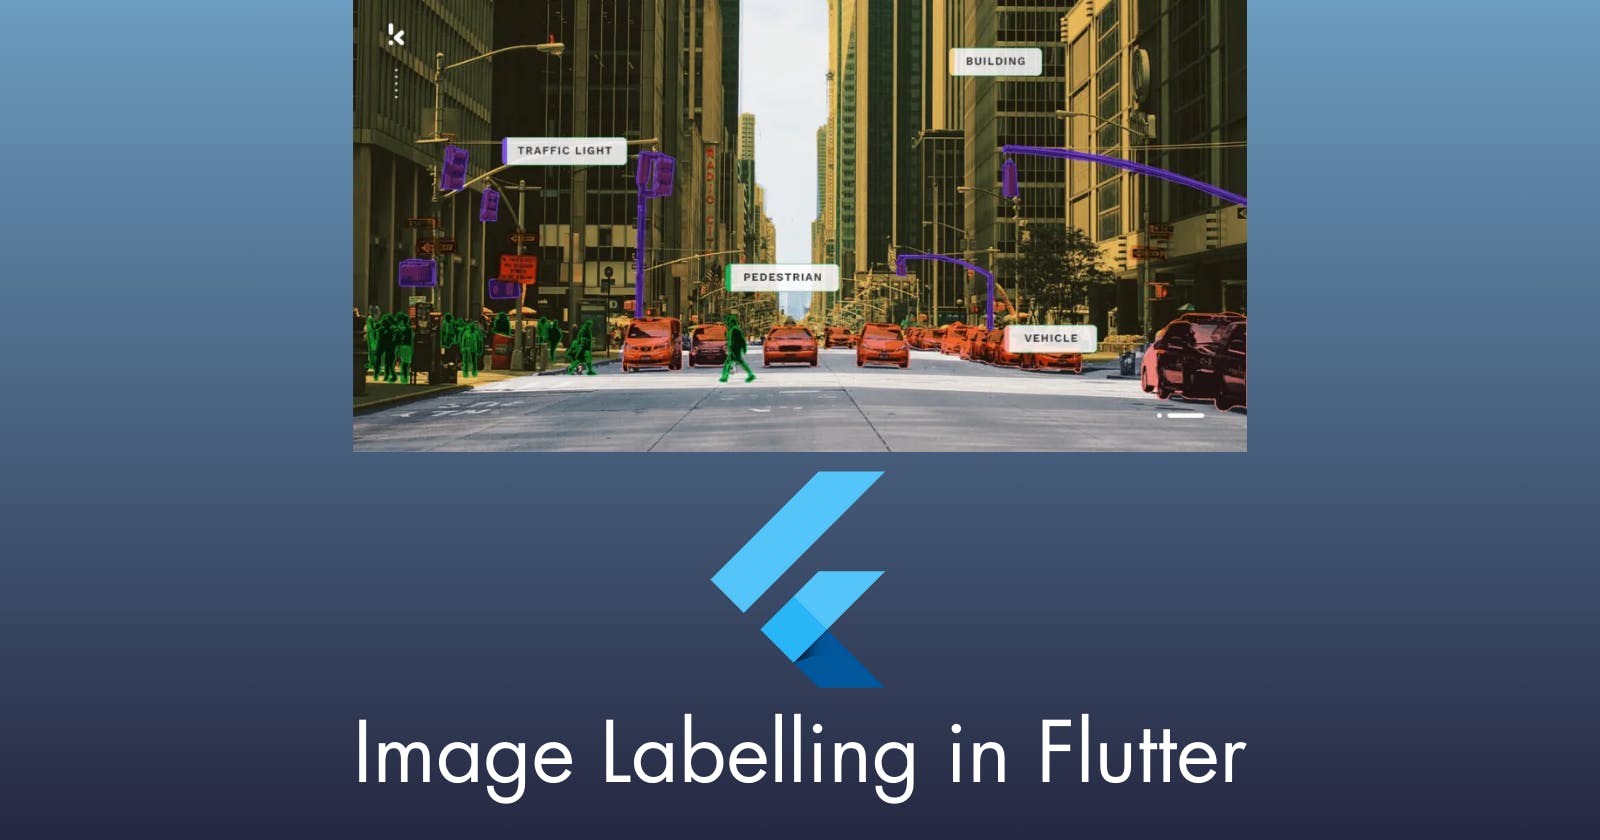
Image labeling is a type of Data labeling that involves identifying and tagging details from an image taken as input from the user. Specifically talking about in the sense of computer vision, data labeling involves adding tags to raw data, such as images and videos. Each tag represents an object class associated with the data.
Image labeling has many benefits, it can be used to gather information about the data and help us analyze the data and make necessary recommendations for the user. It can also help us to recommend the user about their specific needs and what they want.
So we can do a lot of things with the help of image labeling if you want to know more about it then you can check out the below resource 👇
Implementing in Flutter
To implement image labeling in Flutter, we are going to use the google_mlkit_image_labelling library which provides us the ability to analyze, detect, and extract properties of entities in an image across a broad group of categories.
Create a new flutter project,
flutter create image_labelling
And install the above library,
flutter pub add google_mlkit_image_labeling
Note: Please check the library(s) requirements for android and iOS on the official site and make the changes accordingly.
We are also going to use the image_picker library to pick images from the user's devices.
flutter pub add image_picker
Firstly remove all the boilerplate code and implement the image picking functionality.
File? _image;
late ImagePicker imagePicker;

void initState() {
    super.initState();
    imagePicker = ImagePicker();
 }
After declaring all the necessary variables, implement the code below to pick the image from the gallery as well as from the camera.
Implement the below code above the build function 👇
//TODO capture image using camera
  _imgFromCamera() async {
    XFile? pickedFile = await imagePicker.pickImage(source: ImageSource.camera);
    _image = File(pickedFile!.path);
    setState(() {
      _image;
      doImageLabeling();
    });
  }

  //TODO choose image using gallery
  _imgFromGallery() async {
    XFile? pickedFile =
        await imagePicker.pickImage(source: ImageSource.gallery);
    if (pickedFile != null) {
      setState(() {
        _image = File(pickedFile.path);
        doImageLabeling();
      });
    }
  }
The above code is easy to understand, the _imgFromGallery() function lets us choose images from the phone gallery and the _imgFromCamera() function lets us capture real-time images and then do labelling on them.
After successfully implementing the above 2 functionalities, implement the image labelling code,
 doImageLabeling() async {
    final InputImage inputImage = InputImage.fromFile(_image!);
    final ImageLabelerOptions options =
        ImageLabelerOptions(confidenceThreshold: 0.5);
    final imageLabeler = ImageLabeler(options: options);
    final List<ImageLabel> labels = await imageLabeler.processImage(inputImage);
    result = "";
    for (ImageLabel label in labels) {
      final String text = label.label;
      final int index = label.index;
      final double confidence = label.confidence;

      result += text + "   " + confidence.toStringAsFixed(2) + "\n";
    }

    setState(() {
      result;
    });
  }
Firstly we get the image with the help of the InputImage class, then we set the confidence threshold to 0.5 to make sure that if the entities are almost 50 per cent correct then only the output will be shown to us.
Second, we set the ImageLabeler instance with the required option and then we loop through all the labels and set the text and the confidence.
Now we are done implementing all the main functionalities, the rest of the UI can be checked out on the GitHub gist below 👇
https://gist.github.com/hasnainmakada-99/1745fbb3c7064eb9dce8f5275fdcfc7a
Final Output
Here's the final output of how our application will perform in emulator and physical devices

Wrapping up
I hope that by now you have got a basic understanding of how to use the ML packaged by Google and integrate them seamlessly inside your Flutter apps, there are 100s of packages available on pub.dev which you can check out there
If you have any further queries related to Flutter & DevOps, you can reach me at my Twitter and Showwcase handles.
Till then, Happy Coding 😄

