


Introduction
Hey everyone I am hasnain makada currently working as a Developer Advocate at Napptive where I explore the platform deeply and educate the community more and more about DevOps and Flutter, I also like to explore new DevOps tools and in this blog, I am going to introduce you to mergify.
What is Mergify?
Mergify is a GitHub application which automates your entire GitHub repository, You can automate all the operations on your repository such as merging pr(s), assigning issues, and re-requesting reviews to maintainers anything you say. You must install mergify in your GitHub Account and add a .mergify.yml file in your repository to get it to start working.
The .mergify.yml file mainly consist of all the rules and conditions which mergify should perform whenever any action happens on your repository and the best thing is that mergify also provides you with templates to install all the basic rules and automate all your essential stuff.
With that said let's get started with the installation of mergify.
Installation
To install mergify on your account head on to the mergify dashboard
Click Enable mergify on a new account or If you want to install it in a different organization go to github.com/apps/mergify/installations/new and select your organization,
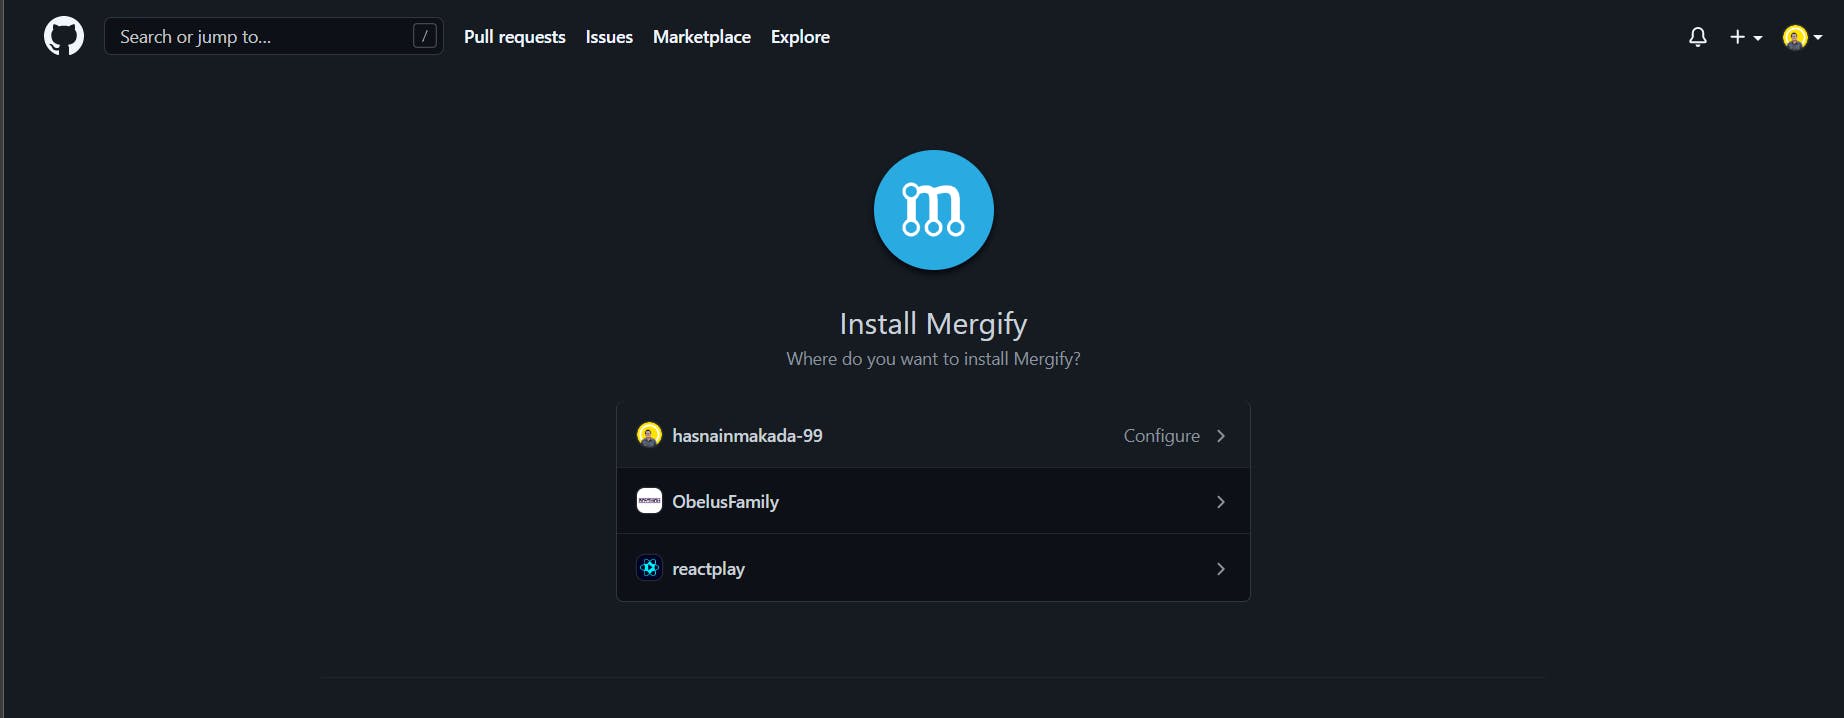
GitHub will now offer you to select repositories to give access to mergify

Wait for a while and you'll be redirected to the dashboard,
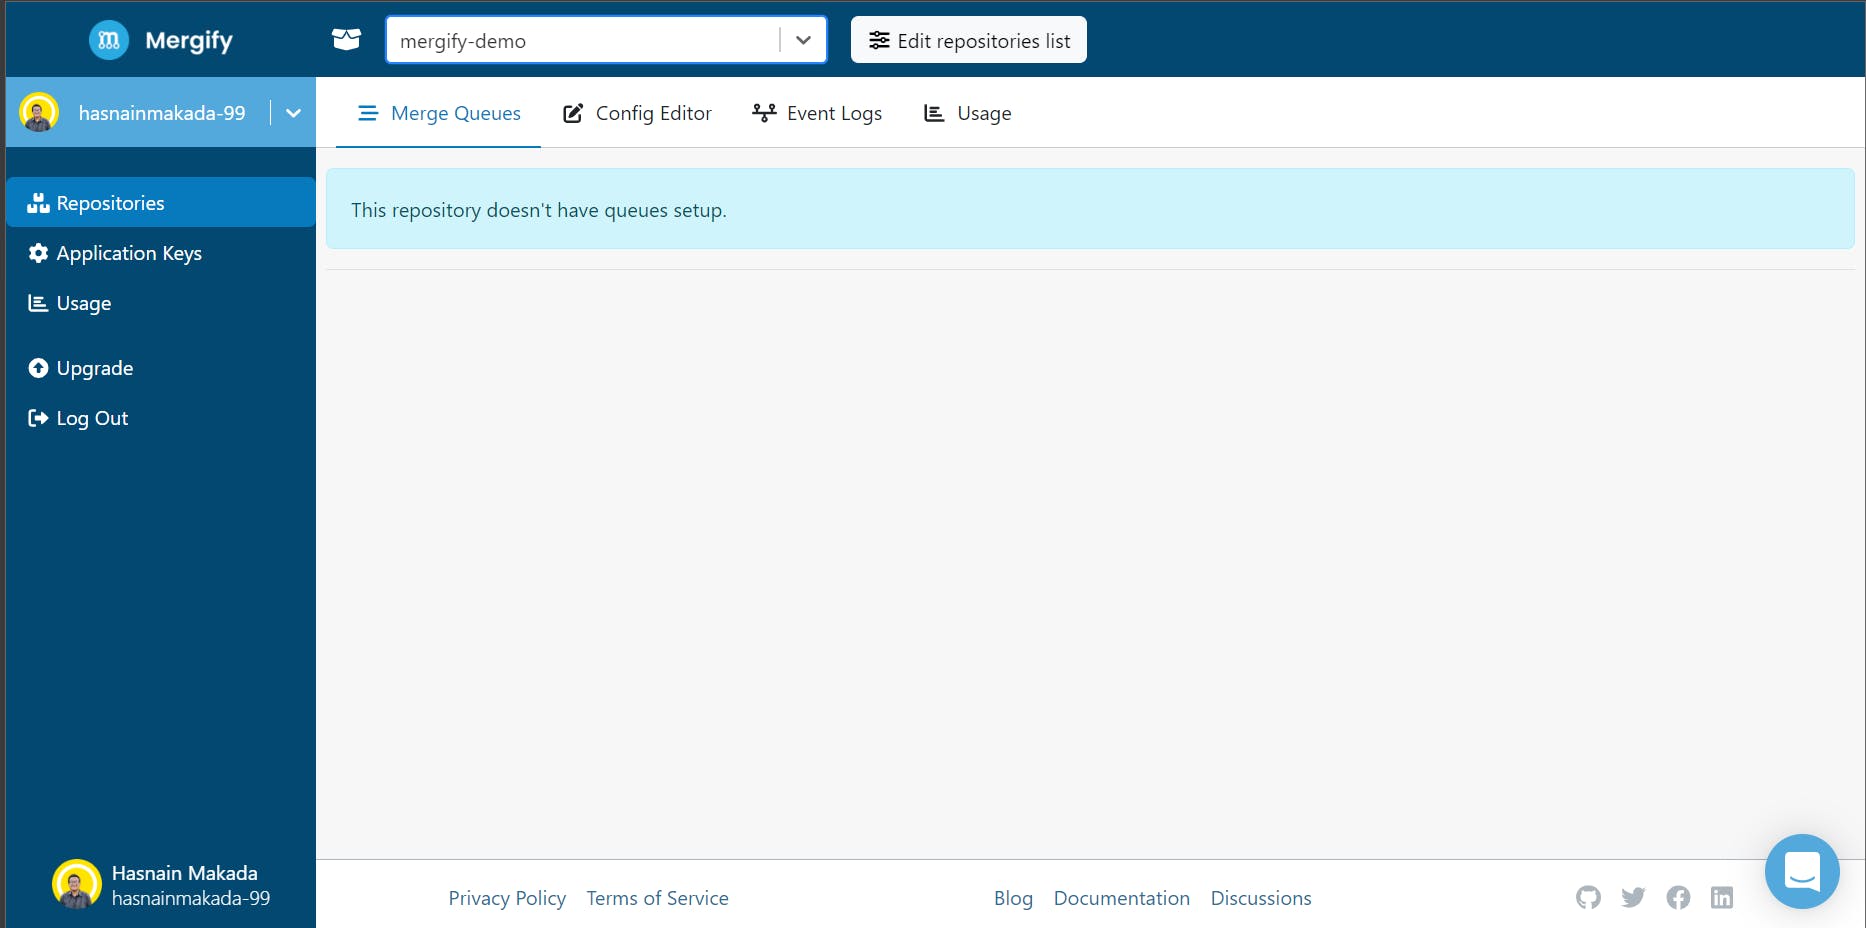
At the centre of the navbar, you can see your repositories for which mergify will work, You can also edit the repositories as per your preferences
There is also a merge queue in which you will see all the PR(s) which your repository has and there are also a lot of features which you can see, The config editor, application keys and so on... You can explore them if you want to.
Now that we've installed mergify successfully and it's up and running on your account, Let's apply the configuration file and see mergify in action.
Applying the configuration file
To apply the configuration file, clone your repository using git clone and create a .mergify.yaml file inside which we are going to write about conditions which will perform in our repository. It should look like this,

Now we are going to write a code in which it will specify that whenever any java files are modified it will automatically assign that PR to Hasnain Makada (which is me)
Write down this code in the .mergify.yaml file,
pull_request_rules:
  - name: assign PRs with java files modified to hasnainmakada-99
    conditions:
      - files~=\.java$
    actions:
      assign:
        add_users:
          - hasnainmakada-99
Now add the code and commit it git add .; git commit -m '<message>'
You can see that you have successfully applied the configuration file in your repository.
Mergify in Action !!!
Now it's time to see how mergify performs, Make any changes to the java files inside the repository and commit them to a new branch.
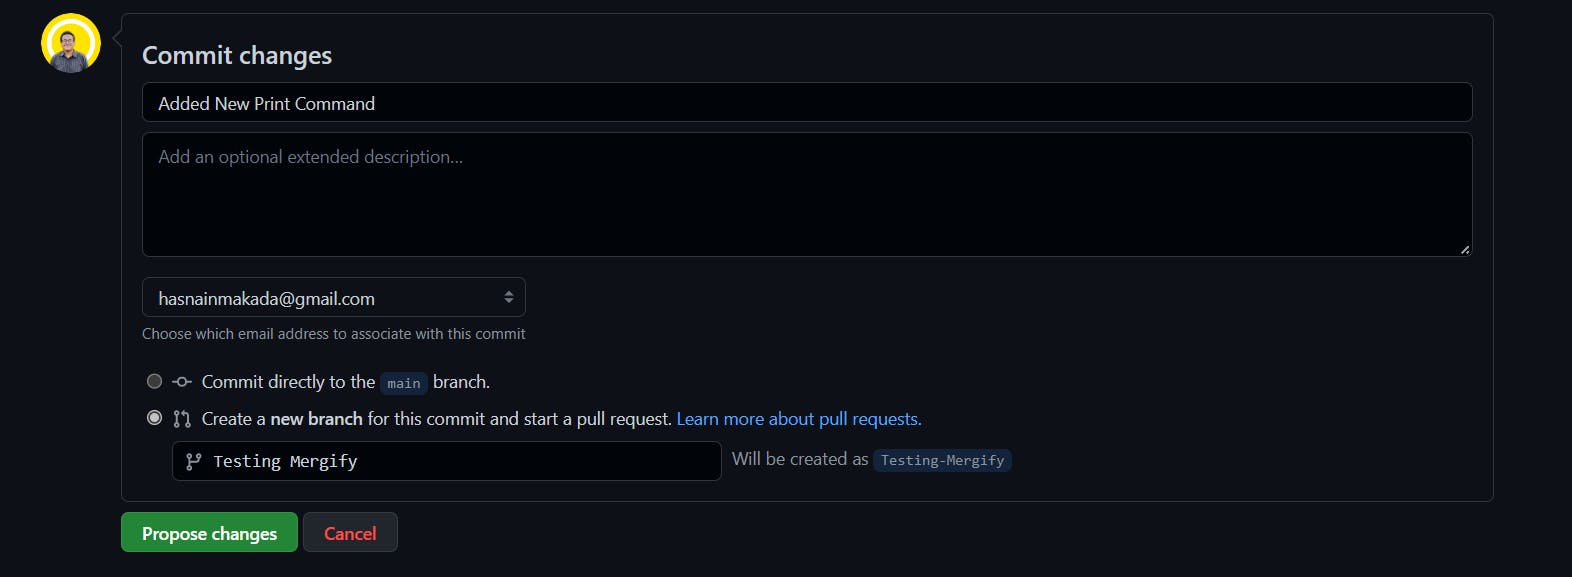
Commit it and create a pull request,
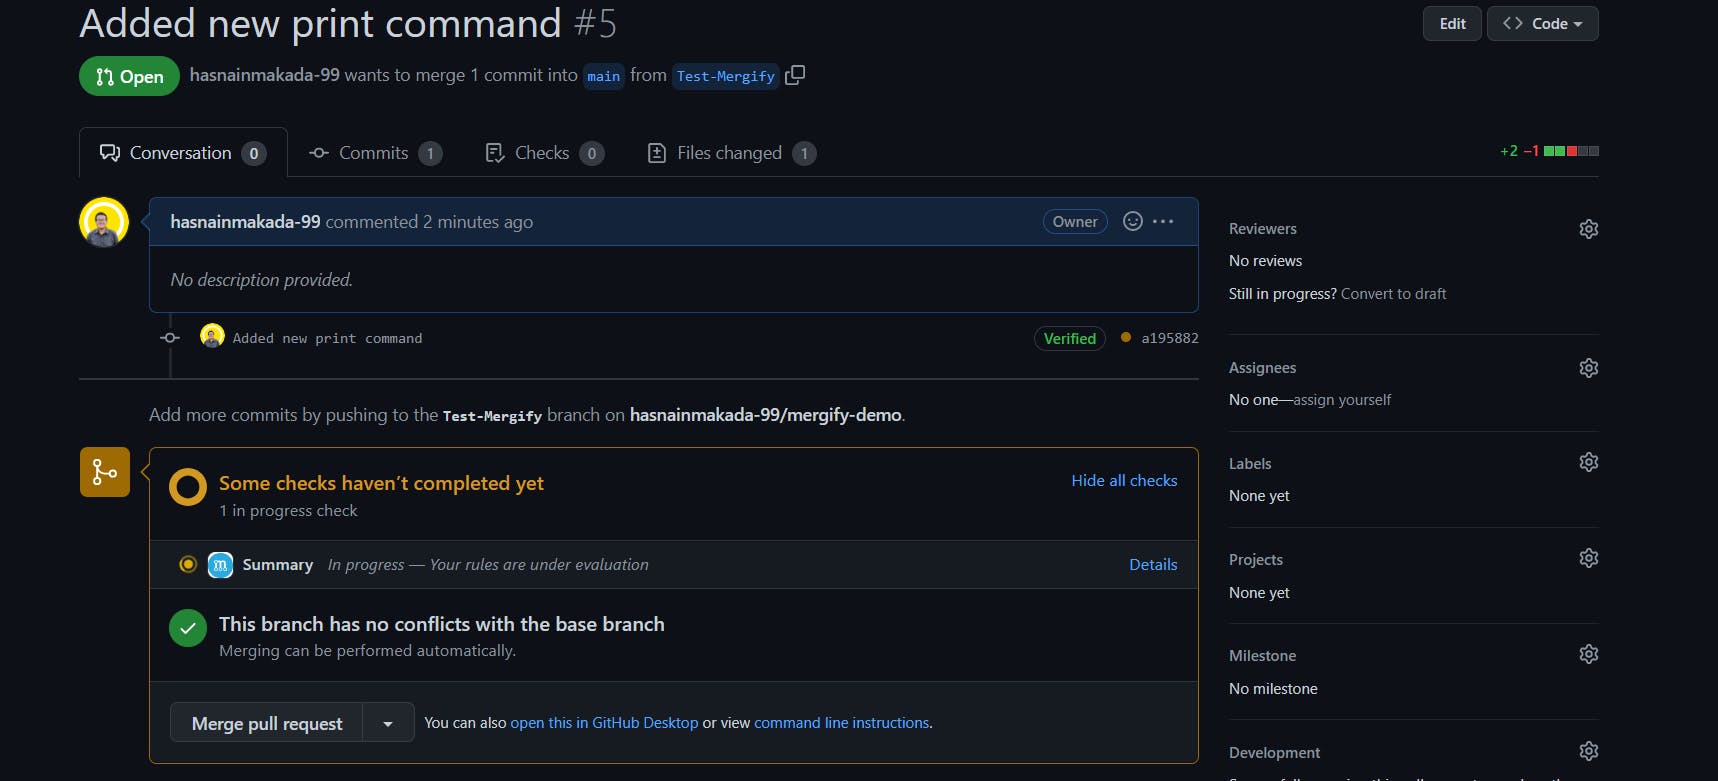
Now you can see that whenever any change in the java file will be there it will automatically assign it to me,
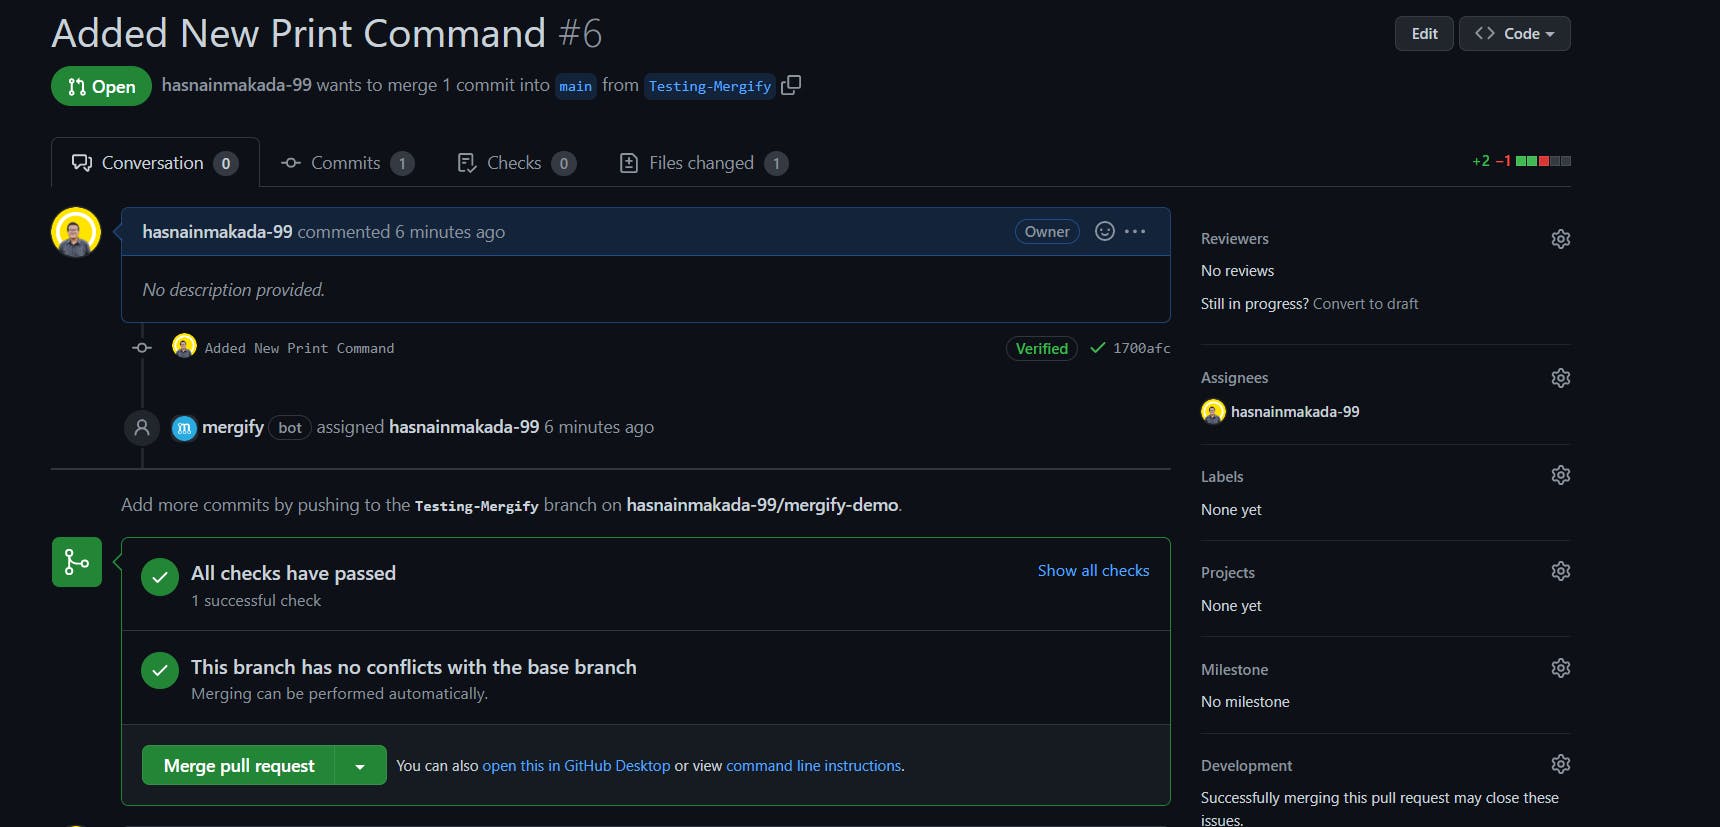
See how the mergify bot assigned the PR to me.
And that's it now you can define whichever rules you want inside the .mergify.yml file. There are also certain types of rules and actions which you can also define for automation.
Actions
Mergify also provides several types of actions to work with similar operations such as assigning a pr to someone, copying a pull request to another branch, commenting on a pull request and so on...
You can explore all of the actions here
Conclusion
I hope that this blog has taught you everything from the basics to how to get started with mergify, If you have any doubts related to DevOps and Flutter, feel free to reach out on Twitter and Showwcase