


Introduction
Hey everyone in this blog I'm going to explain you about GitHub Actions, how to use them and how all the components work in GitHub Actions and we'll also see how to implement them as an example.
Let's begin..
What are GitHub Actions ?
GitHub actions is a continues integration and continues delivery platform and it allows you to test & build your deployment pipeline. Now what does the term CI/CD means ?. Lets break it down..
Continues Integration (CI)
- Continues integration means when a developer merges their changes to main branch and as often as possible. When the changes are merged they are validated by creating a build and running automated tests against the build, This process ensures the developer that the changes are not broken and it should affect the application in any way, If some changes broke by any means the automated tests will throw errors.
Continues Delivery (CD)
Continues delivery is an extension of continues integration since it automatically deploys all the changes to testing (or) production enviroment after the build stage is completed. This means that on top of automated testing process you have an automated release process with which you can deploy your application at just the click of a button.
With continues delivery you can release daily, weekly or monthly whatever suits your business requirements. It is recommended that you should deploy your application to production as early as possible and afterwards release small batches so that it will be more easy to troubleshoot in case of a problem.
By using GitHub actions you can create workflows which will build and test every pull request to your repository and you can also deploy merged pull requests to production. GitHub provides virtual machines such as Linux, Windows and macOS to run your workflows.
Now that we've discussed about GitHub actions and understood how it works let's have a look at the components which GitHub Actions use.
Components of GitHub Actions
There are mainly 5 types of components in GitHub actions,
- Workflows
- Events
- Jobs
- Actions
- Runners
Workflows
A workflow is a configurable automated process that will run more than one job they are defined in a YAML file and checked into your repository. Workflows will run whenever an event in your repository take place, They can also be run manually or at a defined schedule.
Workflows are defined inside the .github/workflows directory inside a GitHub repository. A GitHub repository can have multiple workflows each of which can perform a different set of tasks, You can have one workflow which builds and tests your pull request and another workflow which adds label to every new issue created. For more information related workflows visit here
Events
An Event is specific activity which indicates the workflow to run, An event can be creating a pull request, Opening an issue or pushing a commit to a repository.
Jobs
In GitHub actions Jobs are a set of steps which executes on the same runner. In jobs each step is a script which is executed or an action that will run, Steps are dependent on each other and they can used to transfer data from one step to another. If one step builds your application then another step will be used to test the application which was built.
Actions
An action is a custom application which is used to perform complex tasks frequently. An action can be anything it can be pulling code from a git repository or set up authentication to your cloud provider
Runners
A runner is a server that runs your workflows when they're triggered. Each runner runs a single job at a time, GitHub provides various runners such as Ubuntu, Linux, Windows & macOS to run your workflows. Each time a new virtual machine is created to run your workflows. You can also host your specific runners to run your workflows. For hosting your own runner check out here
Now that we have discussed about the components of GitHub actions, Let's create a practical example and see how it works
Creating an example workflow
In GitHub each and every workflow is defined in a YAML syntax and this YAML file is stores inside the .github/workflows/ directory.
To get started with it create an empty git repository on GitHub. I've named my repository as GitHub-Actions-Demo-Workflow . After creating the repository successfully clone it your device git clone <repositoy - name>
Now navigate to the folder with this command cd <folder - name>
Now follow this steps to create your first workflow,
create a new directory name
.githubin your repository using terminalmkdir .githubInside the
.githubdirectory create a new directory namedworkflowsand inside the workflows directory createactions.yamlfile and paste this code inside it,
name: learn-github-actions
on: [push]
jobs:
  check-bats-version:
    runs-on: ubuntu-latest
    steps:
      - uses: actions/checkout@v3
      - uses: actions/setup-node@v3
        with:
          node-version: '14'
      - run: npm install -g bats
      - run: bats -v
After pasting the above code save the file, commit the changes and push them, And your workflow has been created successfully
Now that we've created our workflow and is running properly let's try to understand what our workflow is all about
Understanding the workflow
In the above example we've created a workflow which is basically made up of YAML, Now let's understand how to workflow works step by step
(i). In the first step we've specified the name to the workflow which will work as an identifier to identify your workflow name: learn-github-actions
(ii). In the second step we've specified the on : [push] event, The on tag is used to specify certain event to the repository whether it can be a pushing a normal commit or merging a pull request
(iii). In the third step we've specified the jobs tag which will group together all the jobs that will run in the workflow learn-github-actions
(iv). check-bats-version this is the name of the job and the child keys will define the properties for this job
(v). runs-on: ubuntu-latest the runs-on tag will specify the workflow to run on a specific server. This means that the job will execute on a fresh hosted virtual machine hosted by github
(vi). steps this tag groups together all the steps that will run in the check-bats-version job. Each item is nested under this step and is a different action or a shell script
(vii). uses: actions/checkout@v3 This step will specify to run the v3 of actions/checkout@v3 action. This step will checkout your repository on the runner and allow you to run scripts and actions against your code such as build and test tools.
(viii).
uses: actions/setup-node@v3
      with:
        node-version: '14'
This action will install the node with version 14 on your repository.
(ix). run: npm install -g bats The run keyword will tell the job to execute a command on the runner. In this command we are installing the bats software testing package globally on our repository
(x). run: bats -v after the bats package is installed, we will run the bats command to check the version of our software
Viewing the activity on GitHub for a workflow run
For viewing the workflow run on go to your GitHub repository in which you've created the workflow
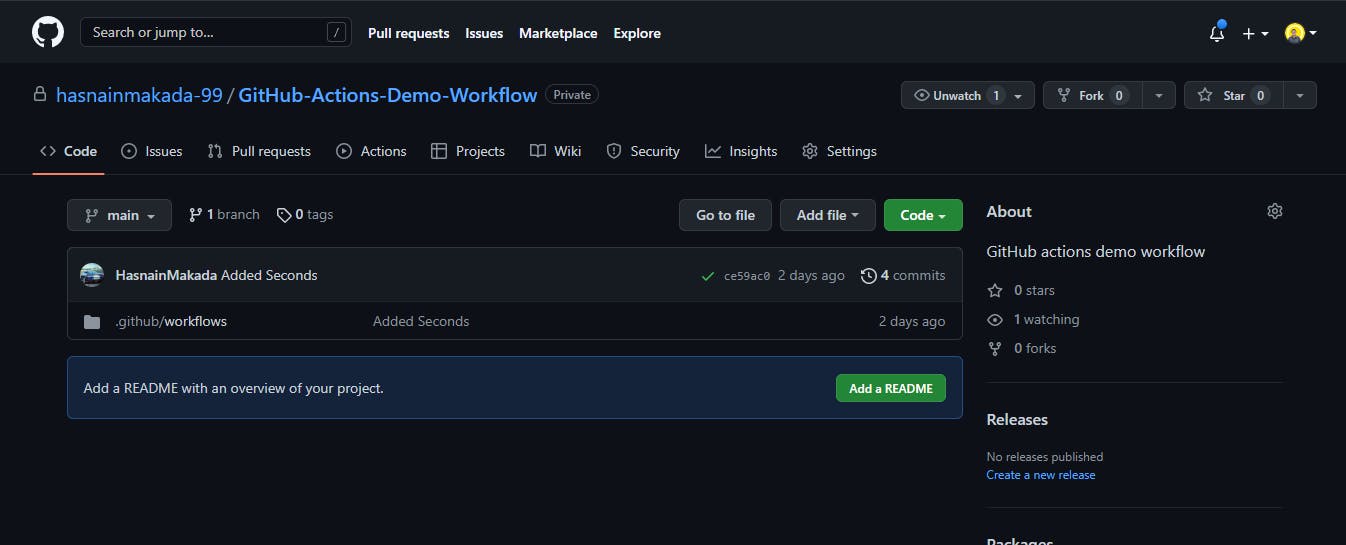
Then go to the actions tab on your repository

After going to the actions tab we can see our all workflows, And the good thing is GitHub has already sorted our workflows according to the names
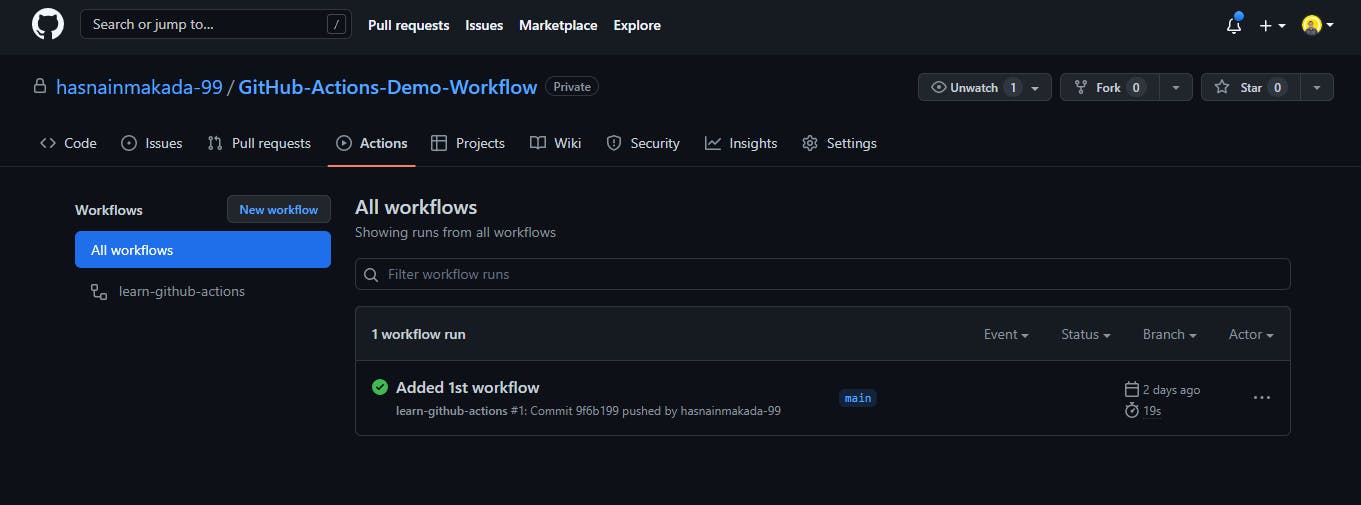
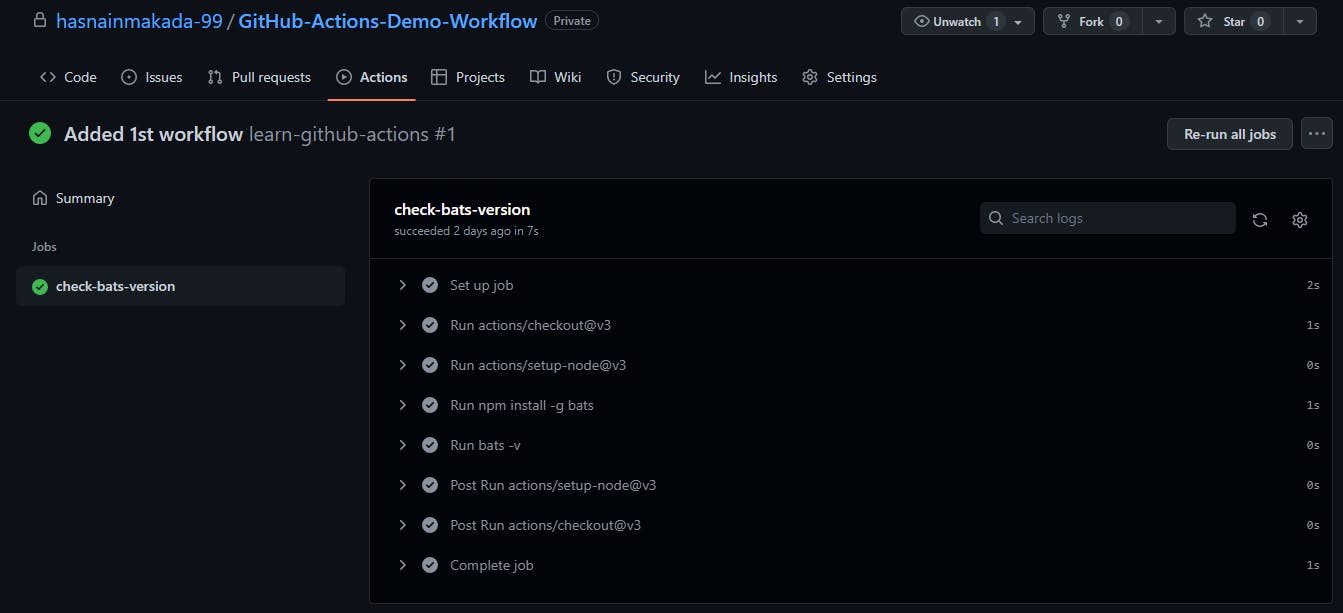
We can click on our workflows and see the jobs which were executed

You can also click on the job and see what are the steps which our job check-bats-version executed
Conclusion
I hope that by now you got a basic understanding of how GitHub actions work, How we can create a workflow and run it on a server and we've also seen how it run on our GitHub repository. So if you have any doubts feel free to reach me out on twitter and showwcase and If you want to know more about GitHub actions you can check out the official docs