Introduction
Hey everyone I am Hasnain Makada and I am currently working as a developer advocate at napptive where I work closely with the platform continuously and explore new DevOps tools and technologies.
In this blog, I am going to teach you how you can deploy your first custom cloud-native app on Napptive. But before diving deep into that we are going to install the playground CLI & take a look at the pre-built applications which the Napptive catalogue already provides us and how we can deploy them.
Understanding Playground (GUI)
Before installing the playground CLI, There is a GUI that Napptive already provides us if we want to work with apps. The GUI consists of almost every functionality so you can decide which is best for you.
To get access to the GUI go to playground.napptive.dev and sign in with your GitHub account to access the playground. By default, Napptive provides you with the free plan but you can also check out their paid plans via napptive.com/pricing
After successfully signing up, You'll be inside the GUI
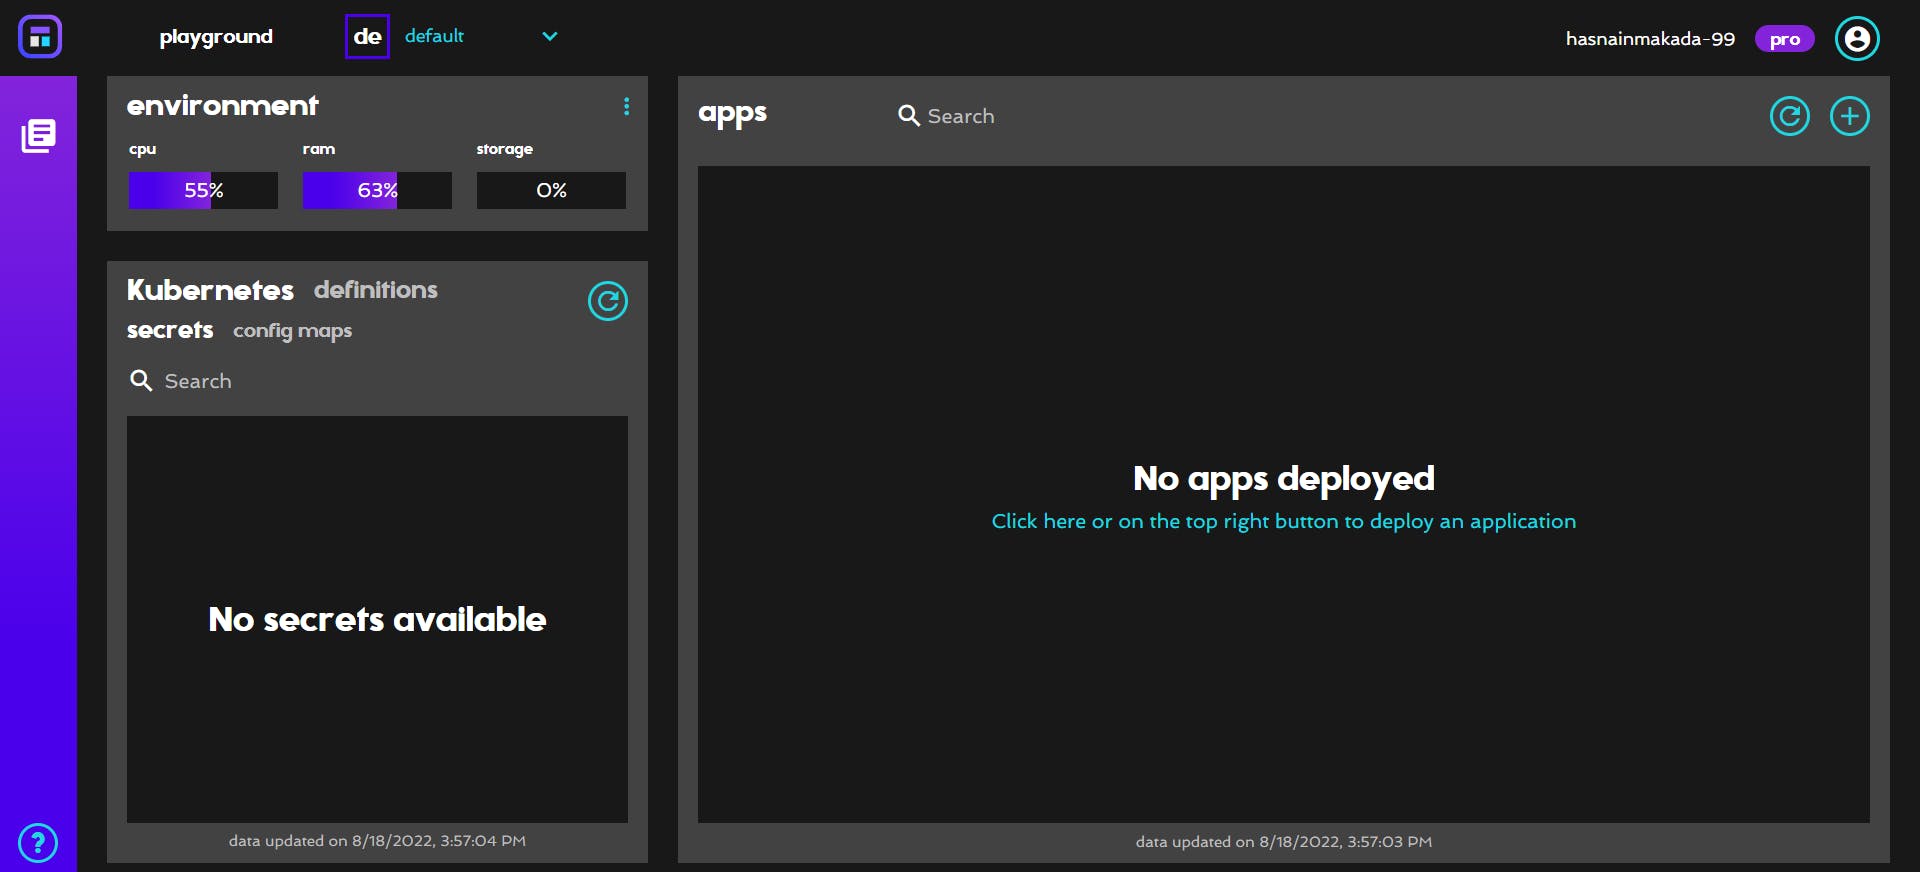
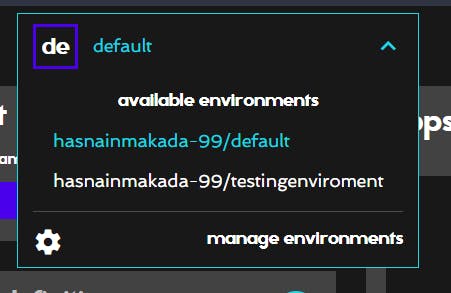
Now you can configure your custom environments as per your use case
Now click on the catalogue button and it will show you a list of pre-built applications for your use case
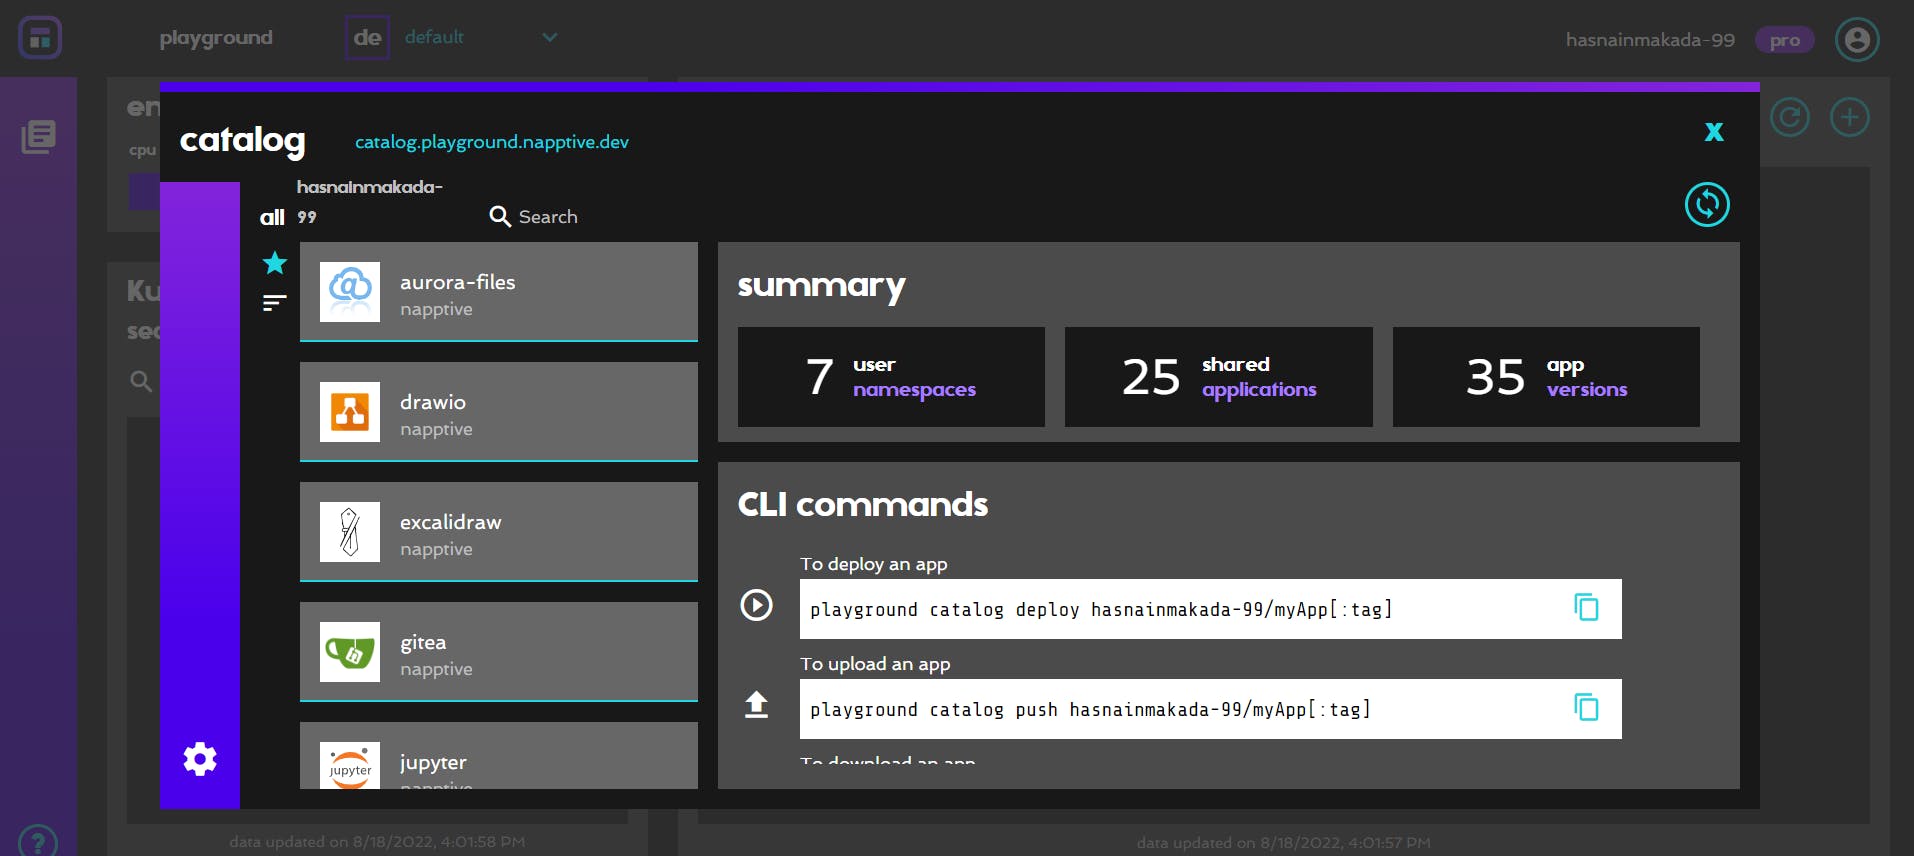
Select any application and click on deploy, It will be deployed in just 10-20 seconds
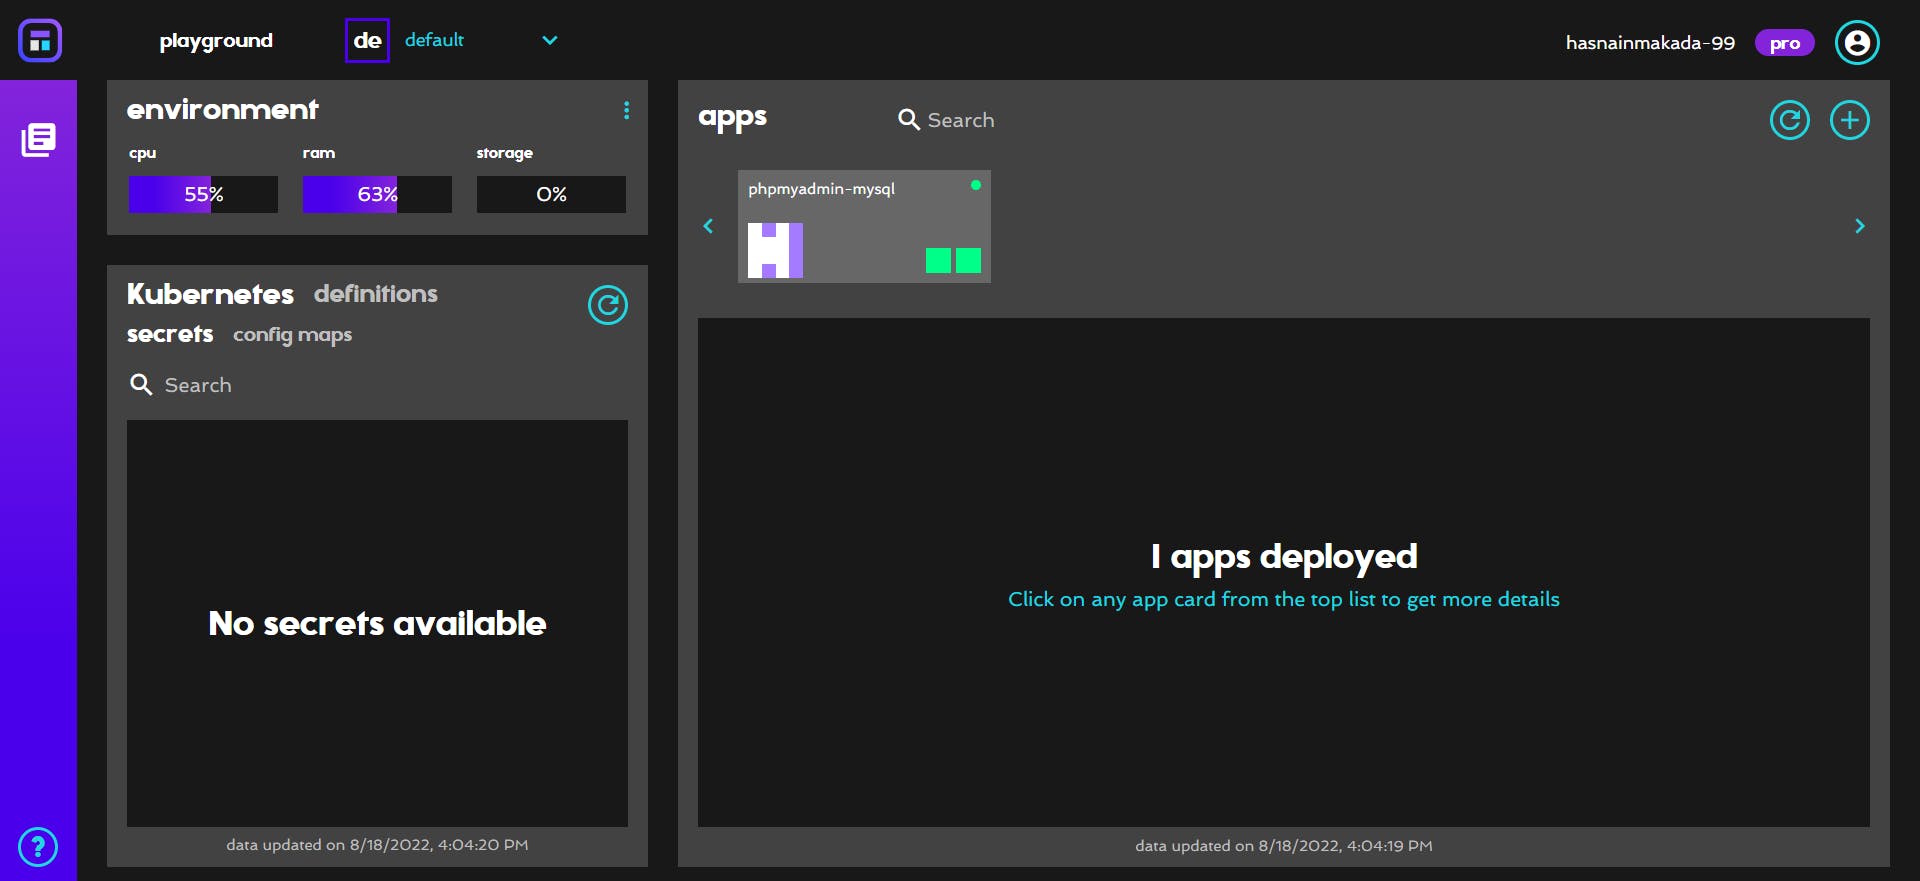
After then you can see the application on your dashboard
Installing playground CLI
To install the playground CLI on windows follow the official docs
Interacting with the playground CLI
After installing the playground successfully, Type playground in the terminal to check whether it working correctly or not
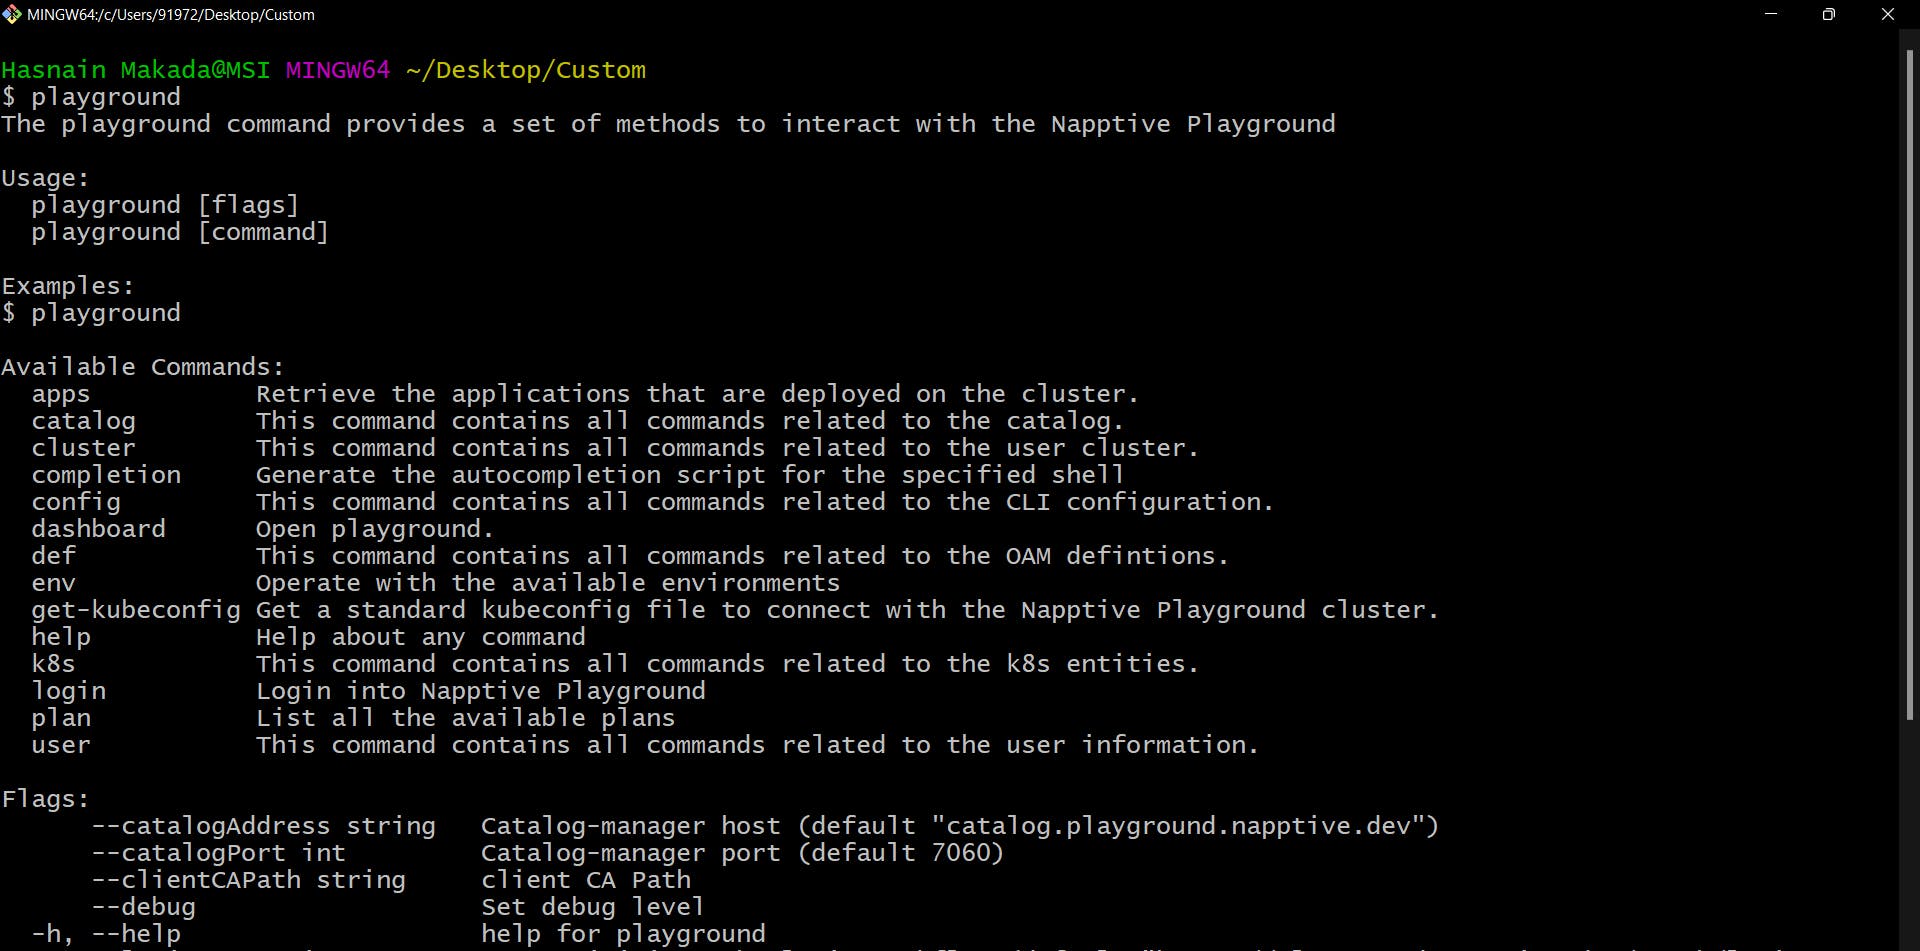
Now login with your playground account to start interacting with it. Use playground login

Now that you've logged into your default environment you can start using the playground commands. Firstly create a folder and redirect the terminal to your folder cd <folder-name>. Then get the napptive-kubeconfig file to connect to the cluster and deploy your custom applications playground get-kubeconfig

You can get your current environment info using playground env info

To open your Napptive dashboard via CLI use playground dashboard
For more CLI commands visit the official docs.
Deploying Custom Application
Now that we're good to go, let's build a simple Nginx application and deploy it to our Napptive cluster. We're going to be dealing with YAML files for making our custom application, So if you don't know how to make YAML files checkout my YAML Blog
Create a custom-app.yaml file inside your folder touch custom-app.yaml
Now open the YAML file inside the terminal or your favourite code editor (I generally prefer using CLI). vi custom-app.yaml and paste this code inside it.
apiVersion: core.oam.dev/v1beta1
kind: Application
metadata:
  name: custom-app
  annotations: # include optional annotations and/or labels.
    version: v1.0.0
    description: "Customized version of nginx"
spec:
  components:
    - name: nginx # an nginx component exposing port 80
      type: webservice
      properties:
        image: nginx:1.20.0
        ports:
        - port: 80
          expose: true
      traits:
      - type: napptive-ingress # a napptive-ingress trait to get a public endpoint
        properties:
          name: nginx
          port: 80
          path: /
The above code will create a simple application but a customized version of nginx.
To create and deploy it on Napptive run playground apps create custom-app.yaml and it will successfully create the application and deploy it. You can see it via the dashboard playground dashboard
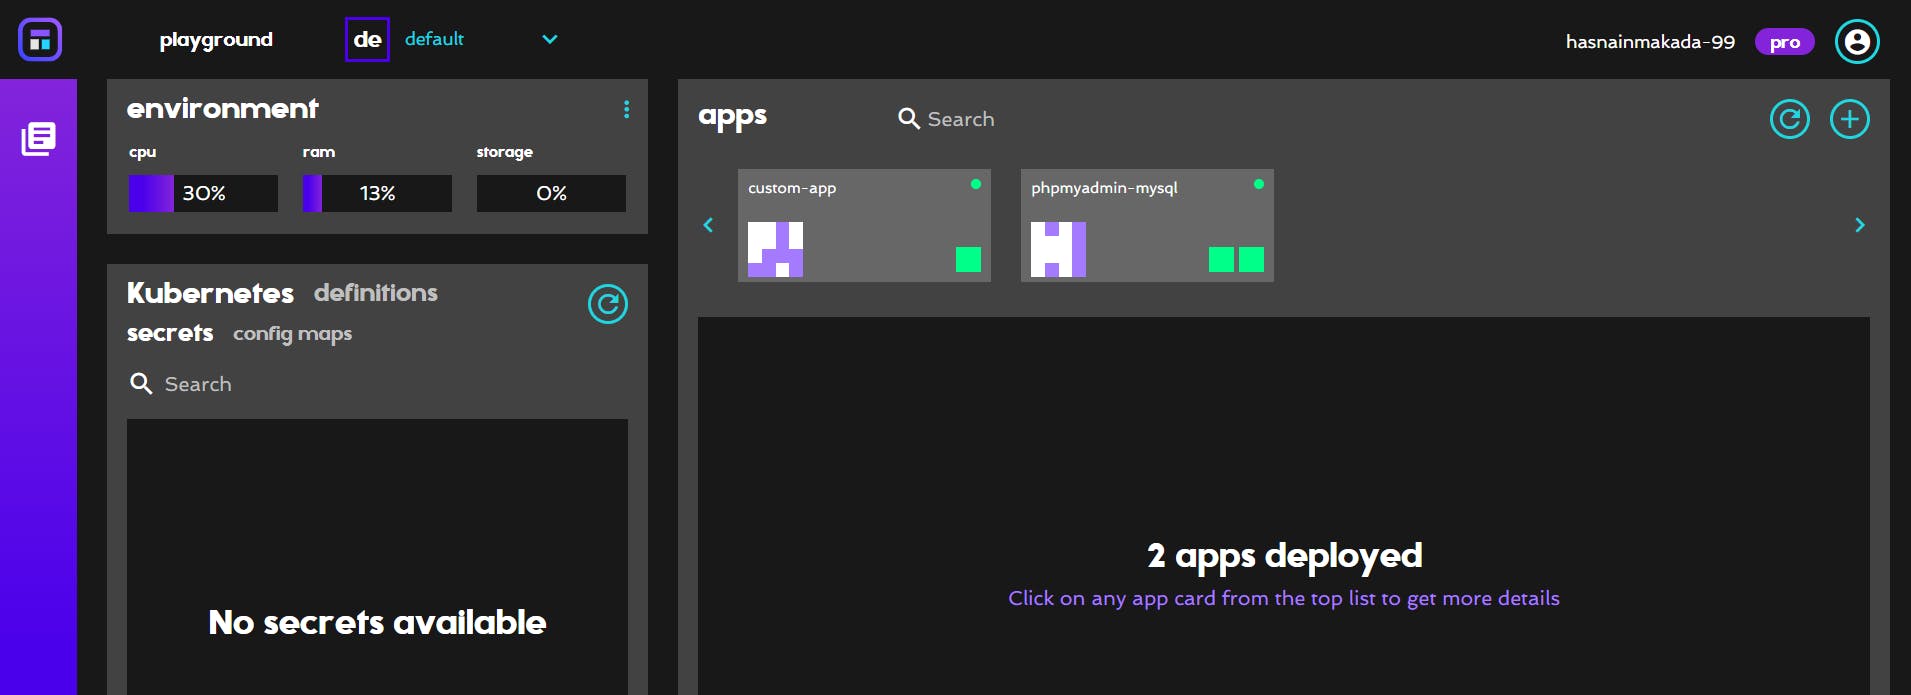
You can see it is deployed. Click on the app and go to the endpoint of it.

And it's done. Congratulations 🎉🎉 on deploying your first custom application on Napptive
Conclusion
I hope that now you learned how to deploy your custom apps on Napptive, So if you have any doubts regarding the platform feel free to reach out on showwcase & Twitter.
Goodbye 😊

